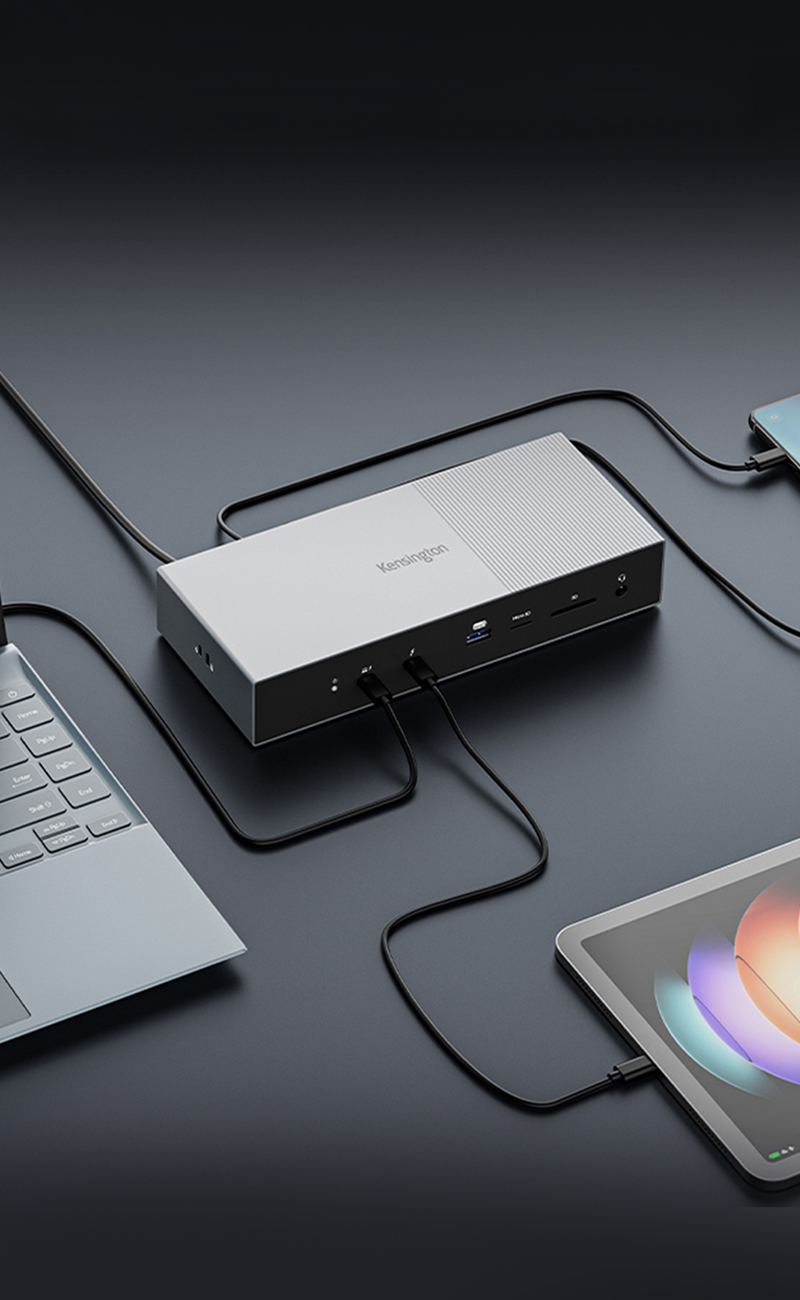
First Intel-Certified Thunderbolt™ 5 Dock
Seamless multi-monitor setups, 80Gbps transfers, 120Gbps bandwidth boost, and 140W power delivery.
Learn more
Seamless multi-monitor setups, 80Gbps transfers, 120Gbps bandwidth boost, and 140W power delivery.
Learn more
First, download the driver to your computer.
Once the file has downloaded to your computer, navigate to where you saved it and right-click the zipped file.
Select “Extract Files” and point the destination to your computer’s desktop.
If the VeriMark IT reader is not connected to the computer, please connect it now to an open USB-A port.
Navigate to Device Manager.
• (Windows 10) Right-click the “Windows Button” and select “Device Manager”

OR
• (Windows 7) Navigate to Start --> Search --> Type “Device Manager” and then click on “Device Manager”

From here, you can confirm that VeriMark IT is displaying as an “Unknown Device”.

Using your mouse, right-click on “Unknown Device” from within the Device Manager window.
Select “Update Driver Software…”.

Select “Browse my computer for driver software”.

Scroll down and select the “VeriMark IT Driver” folder.

Once selected, click “OK”.

Now that the folder containing the driver is selected, click “Next” and follow the prompts to finish the install process.

Once the driver has been successfully installed, it should appear as follows within Device Manager.

With the driver installed, you can now proceed to register your fingerprint(s).
If you already know how to register your fingerprint(s) and wish to proceed to set up Windows Hello for Business.
Canada Pre-sales Support: CanadaSales@kensington.com
Canada Post-sales Support: +1 800-268-3447 | customer.service@acco.com
Canada Product Support