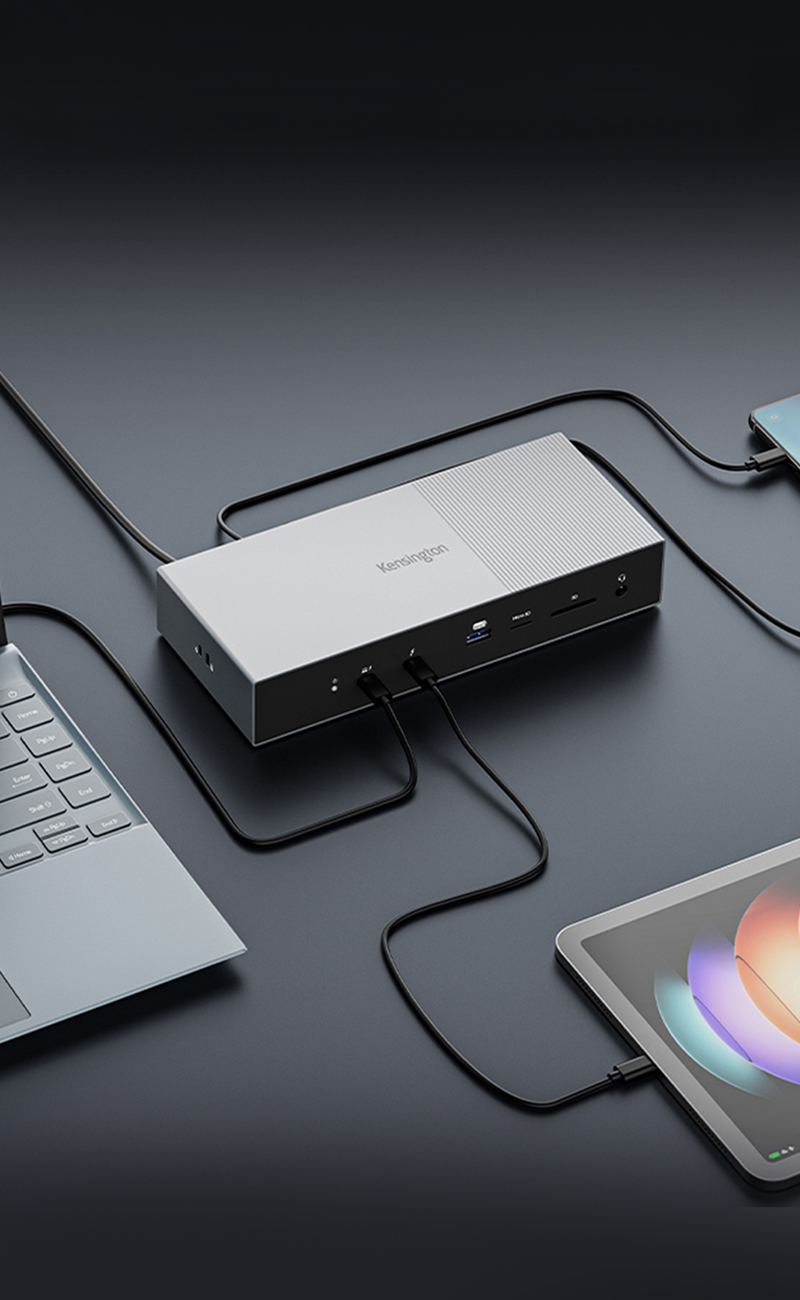
Skip to Content Skip to footer
Welcome to the Kensington site. We've directed you here based on your current location.

Suggestions

  • No Suggestions

Site Pages

Chevron Icon


Deploying an MSI through GPO


Driver Download

  1. Methods of deployment

    Group Policy supports two methods of deploying an MSI package:

  • Assign software - A program can be assigned per-user or per-machine. If its assigned per-user, it will be installed when the user logs on. However, if its assigned per-machine then the program will be installed for all users when the machine starts.
  • Publish software - A program can be published for one or more users. This program will be added to the Add or Remove Programs list and the user will be able to install it from there.


  1. Create a distribution point

    The first step in deploying an MSI through GPO is to create a distribution point on the publishing server. This can be done by following these steps:

  • Log on to the server as an Administrator user
  • Create a shared network folder (this folder will contain the MSI package)
  • Set permissions on this folder in order to allow access to the distribution package
  • Copy the MSI in the shared folder


  1. Create a Group Policy Object

    An MSI package is deployed (distributed) through GPO as a Group Policy Object. In order to create an object for your package, you can follow these steps:

  • Click on the Start button and open Go to Start and open Group Policy Management
  • Expand Forest (your forest) > Domains (your domain)
  • Right-click on Group Policy Objects and select New
  • Enter a name for your policy and leave Source Starter GPO as (none)


  1. Assign an MSI package

    A package can be assigned per-user or per-machine. Also, if the package is assigned, it will automatically be installed silently.

    In order to assign a package you can follow these steps:

  • Click on your previously created policy
  • In the right panel click on the Settings Tab
  • You should see Computer Configuration and User Configuration, right-click anywhere in the panel and select Edit
  • Expand User Configuration > Policies > Software Settings
  • Right-click Software Installation and select New > Package
  • Select your package from the previously configured network share
  • In the dialog that appears select Assigned and click OK
  • The selected package will appear in the Software Installation panel (wait a bit for it to appear)
  • Double-click on the new package and select the Deployment tab
  • Check Install this application at logon and at the user interface select Basic
  • Click OK
  • Close Group Policy Management Editor
  • In the Group Policy Management window right-click on the domain name from the left-side pane and select Link an existing GPO
  • Select the previously created policy with the package and click OK


  1. Publish an MSI package

    When using Group Policy, you can publish a package in order to allow the target user to install it by using Add or Remove programs.

    The steps for publishing a package are:

  • Click on your previously created policy
  • In the right panel click on the Settings Tab
  • You should see Computer Configuration and User Configuration, right-click anywhere in the panel and select Edit
  • Expand User Configuration > Policies > Software Settings
  • Right-click Software Installation and select New > Package
  • Select your package from the previously configured network share
  • In the dialog that appears select Published and click OK
  • The selected package will appear in the Software Installation panel (wait a bit for it to appear)
  • Double-click on the new package and select the Deployment tab
  • Check Install this application at logon and at the user interface select Basic
  • Click OK
  • Close Group Policy Management Editor
  • In the Group Policy Management window right-click on the domain name from the left-side pane and select Link an existing GPO
  • Select the previously created policy with the package and click OK
  • Test the package:
    • Log on to the target computer
    • Click on the Start button and go to Control Panel
    • Double-click the Add or Remove programs applet and select Add New Programs
    • In the Add programs from your network list select the program you published
    • Use the Add button to install the package
    • Click OK and then Close